Midjourney · v7
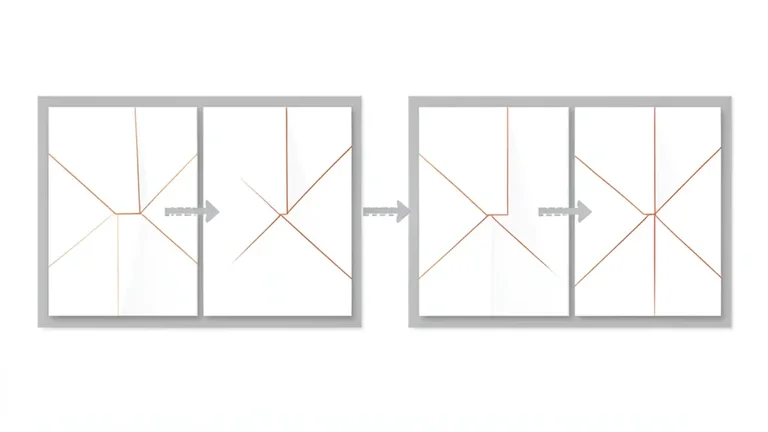
Step-by-Step Tutorial Diagram
Tested: 2026-08-08
16:9 · 768 × 432
The prompt
Prompt
A step-by-step tutorial diagram, a clean educational infographic showing a four-panel horizontal sequence of origami paper-folding stages, each panel showing a folded paper square at a different fold progression, thin dashed arrows pointing from one panel to the next, each panel framed in a thin grey border, flat vector illustration style with soft shadows, palette of white paper, light grey arrows and warm red accent on the fold lines, white background, no text, no letters, no numbers --ar 16:9 --stylize 150How to use this prompt
- 1
Open the generator that matches the model and version above, and start a new image rather than editing an existing one.
- 2
Set the output to 16:9 and apply the settings shown in the parameters panel — together those produced the 768 × 432 image on this page.
- 3
Paste the prompt exactly as written. Changing the wording changes the image, so copy it before you edit.
- 4
Generate, then change one thing at a time. The result will not be pixel-identical to the image on this page, because no seed is recorded for it.
Midjourney takes the aspect ratio as a parameter appended to the prompt rather than as a separate control, written as --ar 16:9, and --stylize followed by a number controls how far the model pushes its own aesthetic. Append both to the end of the prompt text instead of looking for fields for them.
Related prompts
More prompts from the same model, and prompts that share a use case with this one.
Midjourney
Bar Chart Comparison Illustration
Midjourney
1950s Diner Interior with Jukebox and Checkered Floor
Midjourney
Advent Calendar Illustration with Numbered Doors

Midjourney
Alert Red Fox in a Snowy Pine Clearing
Midjourney
Art Deco Travel Poster Illustration

Midjourney
Artisan Olive Oil Pour with Bread Dip Still Life